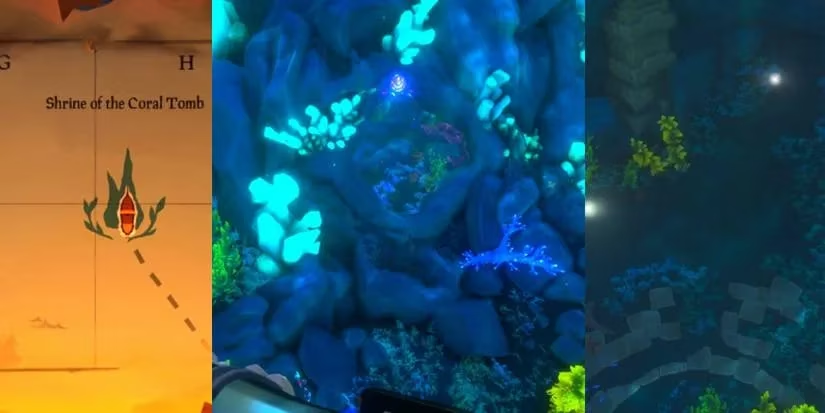
Ahoy, mateys! So you've heard the whispers of sunken riches and ancient mysteries, and you're setting your sails for the legendary Shrine of the Coral Tomb in Sea of Thieves. Forget the simple vault runs and sea forts for a moment; this is a different beast entirely. Introduced back in Season 4, this underwater shrine offers a unique, puzzle-driven adventure that's as much about wits as it is about combat. Located in the shimmering, treacherous waters of The Shores of Plenty at map coordinate H5, it's a deep dive into a world of sirens, runes, and, of course, glorious treasure. For a seasoned pirate looking for a challenge that's more than just a quick loot grab, this shrine is the real deal. Let's chart the course to conquering it, shall we?
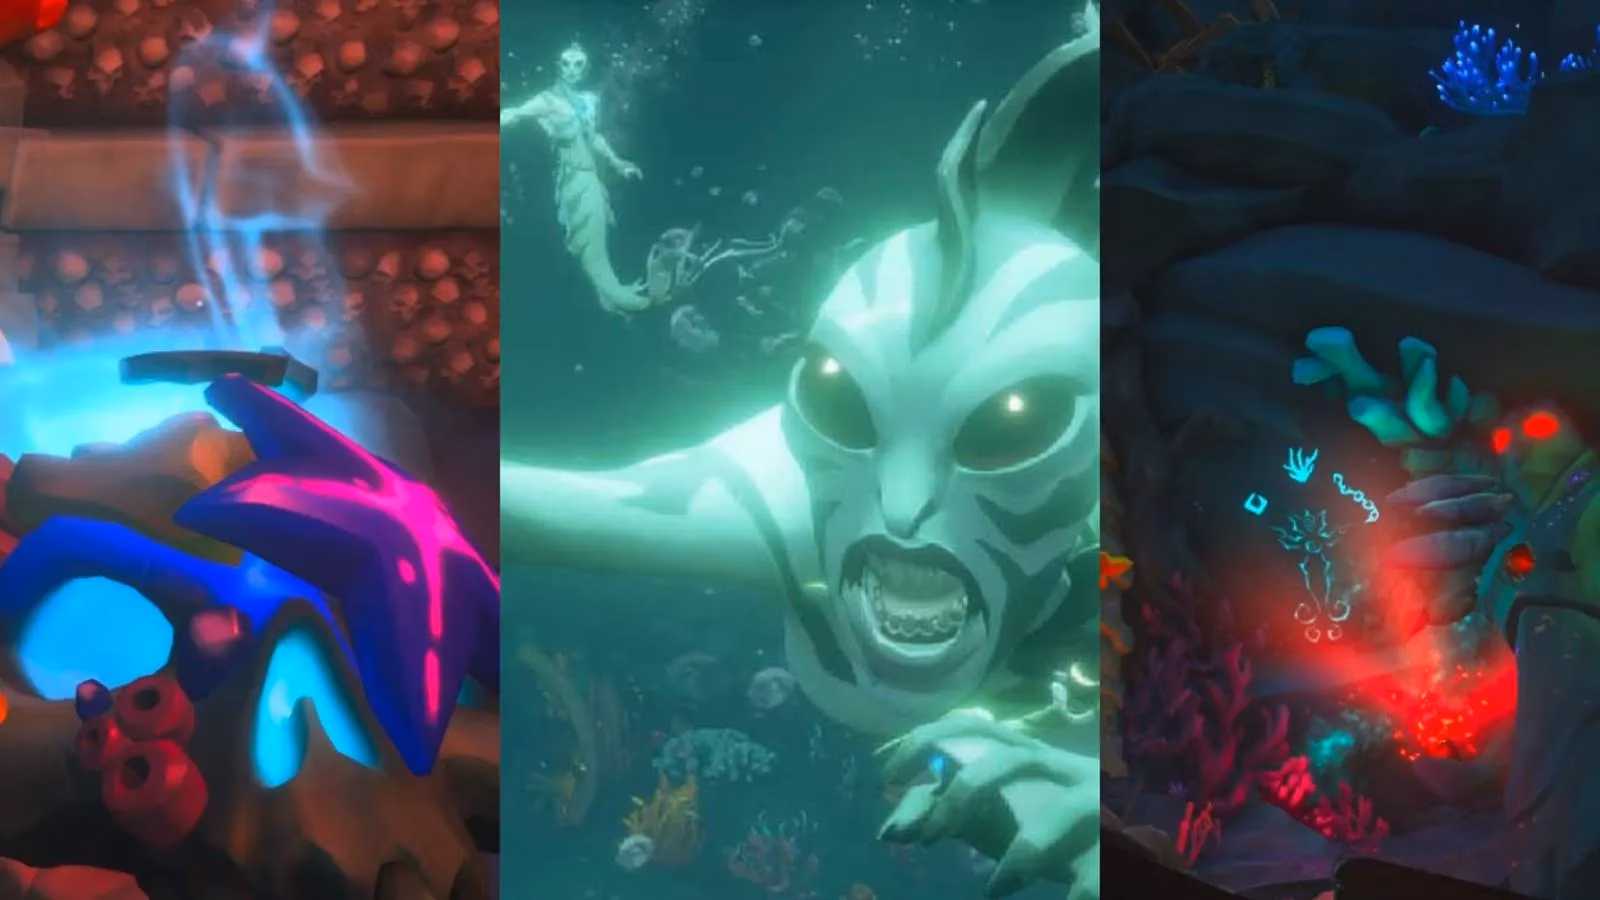
First things first, you gotta get there. Navigate to H5 and look for the telltale swirl of multicolored light on the water's surface. That's your beacon. Dive in, swim down past the mesmerizing light show, and you'll find the tomb entrance nestled between two special corals that provide precious oxygen. To get inside, you'll need to spot the flashing, rose-shaped object above the door and give it a good shot with your pistol or eye of reach. Boom! The bubble barrier drops, and the adventure begins. Inside, a watery slide launches you into the main chamber—a central pit dominated by two imposing giant mermaid statues, each with a red gem gleaming in its chest. This is where the puzzle kicks off.
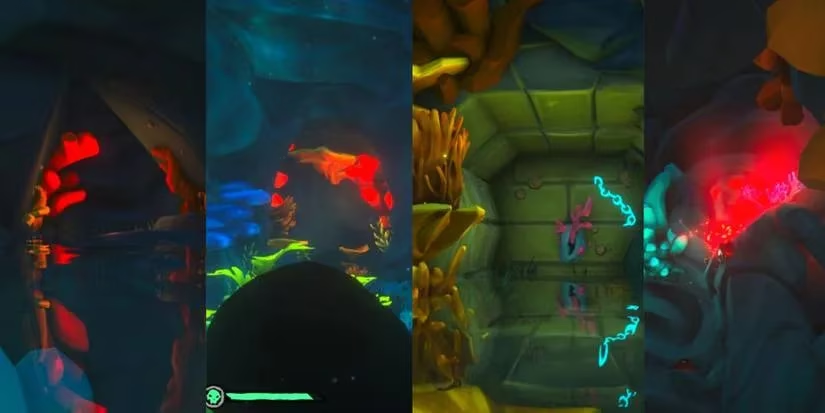
The key to progress lies in deciphering the siren runes. On the wall to the left of one statue, you'll see three symbols etched in stone: a fancy V-shape, a coral shape, and a chain shape. Your mission, should you choose to accept it (and you will, for the loot!), is to find levers matching these symbols and pull them in the exact order shown. It's a three-phase puzzle, and each phase follows the same pattern: V, Coral, Chain. Easy, right? Well, finding them is the tricky part. Let's break down Phase 1.
Phase 1: The Blue Coral Trial
-
The V-Symbol Lever: Head to the very bottom of the watery pit. Behind the ammo chest, you'll find the first lever with the V-symbol. Pull it! Pro tip: While you're down there, keep an eye out for the first of five journals. Snagging all five is crucial for the 'Read the Mysteries of the Shrine of the Coral Tomb' commendation. It's not just about the gold, it's about the glory!
-
The Coral-Symbol Lever: This one's a sneaky devil. Swim up to the first set of stairs near a large pillar. The lever is camouflaged on the wall amongst shiny blue coral. You gotta have a sharp eye to spot it. Once you do, give it a yank.
-
The Chain-Symbol Lever: Now, head back up to the water's surface. You'll find this lever on a walled area surrounded by—you guessed it—blue coral.
Successfully pulling all three in order triggers a triumphant fanfare. The red gems in the mermaid statues glow brightly, the water level rises a bit, and the first wave of Sirens attacks. Don't panic! These gals hit hard with their swipes, so keep your distance. A Blunderbuss works like a charm here. Remember to loot the barrels at the bottom for fruit to heal and the ammo crate to restock. Once the coast is clear, you're ready for Phase 2.
Phase 2: The Yellow Coral Gateway
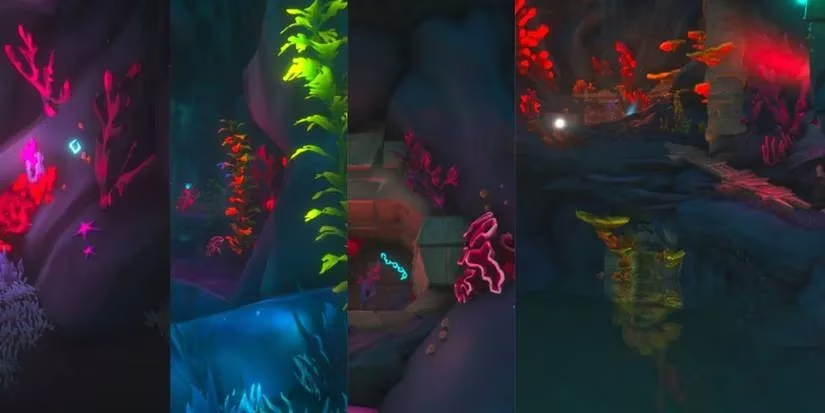
With the first wave defeated, new paths open. At the surface level, look for a small, orange, coral-covered tunnel next to the treasure-storage mermaid statue. Inside, you'll find the next V-symbol lever. Pull it, then dive back down towards the large staircase. A new cave, adorned with orange and yellow coral, will now be open. Swim inside for the coral-symbol lever. After pulling it, surface again and find the next chain-symbol lever in a walled area now surrounded by yellow coral.
Another fanfare sounds, and this time the gem-encrusted chests on the statues glow red. Two new underwater zones open up, the water rises again, and a second, tougher wave of Sirens descends upon you. You could try to swim past them, but trust me, it's better to clear them out now. A clean ship is a fast ship, and a clean shrine is a safe pirate!
Phase 3: The Final Pink Coral Assault
You're in the home stretch! The two new tunnels you unlocked hold the final levers. Here's the drill:
-
First V-Symbol Lever: Located in a small tunnel opening near the stairs, surrounded by pink coral.
-
Second Coral-Symbol Lever: This one's in the larger tunnel next to the ammo crate at the bottom of the pit (close to where you found the very first journal). Swim to the very back of this tunnel to find and pull the lever. Don't miss the third journal at the tunnel's entrance!
-
Final Chain-Symbol Lever: As always, the last pull is at the surface. Head up and find it in the pink coral walled area.
Pull that final chain, and the shrine erupts in a spectacle of light and sound! Bright red light shoots from the hands, chests, and eyes of the giant statues. The water level rises significantly, finally allowing access to a wooden walkway that leads to the main treasure chamber. Jackpot!
Claiming Your Booty and Making Your Escape
Of course, the Sirens won't let you take their loot without a fight. A final guard will appear. But look around—you might find a handy Mermaid Staff near the treasure. It's a powerful weapon against these aquatic foes. Feel free to go all Poseidon on them.
Now, for the loot logistics. You've got treasure scattered about:
-
The main chamber hold the big prizes.
-
A newly accessible green tunnel at the surface has more goodies and the final journal.
-
Heads up! Look for a wooden ladder. It leads to a platform above that's easy to miss but hides even more treasure.
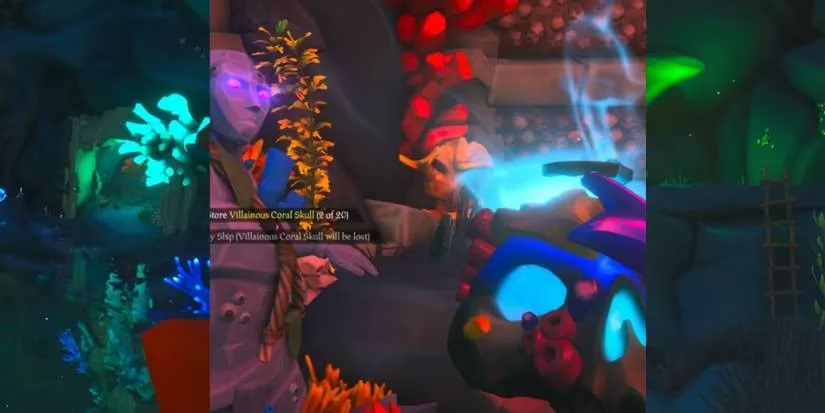
You can't possibly carry it all at once. This is where the storage mermaid statues are a godsend. You can store up to twenty items in them. They'll teleport your loot directly to a mermaid outside that will be waiting near your ship. It's a total game-changer.
Once you've stripped the place clean, interact with any statue to get a magical lift back to the surface. Swim over to the mermaid carrying your backpack, collect your haul, and get it aboard. The easiest method? Use your ship's harpoon! It's like fishing for gold. Position your ship carefully and yoink those treasure chests right out of the water. Then, it's a straight sail to the nearest Outpost to cash in and celebrate a job well done.
So there you have it, pirates. The Shrine of the Coral Tomb is no walk in the park—it's a swim through a challenging, rewarding puzzle that tests your observation, combat, and treasure-hauling skills. In the ever-evolving world of Sea of Thieves, available on Xbox, PC, and Xbox Game Pass, mastering these shrines is a mark of a true legendary pirate. Now get out there and make your fortune! Just watch out for those siren swipes.