
In 2026, the call of the Sea of Thieves still draws bold adventurers to its treacherous waters. One legendary voyage stands above all others—the Shores of Gold. After piecing together ancient artefacts, defeating Skeleton Lords, and surviving the Kraken’s embrace, the path to this fabled island finally opens. This isn’t just any tall tale; it’s a journey that demands every ounce of cunning and courage a pirate can muster.
The tale begins at Morrow’s Peak Outpost in the Devil’s Roar, where Gracie, a woman clad in glowing red, leans against the tavern wall. She’s been here before—she once used the Shroudbreaker herself—and now she’s passing the torch. Her cart holds the Tall Tale book that half the crew must vote on to set sail. Once the votes are cast, Gracie lashes the Shroudbreaker to the ship’s railing, a shimmering device that will pierce the deadly red sea. She also hands over a journal penned by Briggsy, the Skeleton Lord who reached the Shores of Gold before succumbing to the curse. “Read it carefully,” she seems to say, though her words are laced with a warning. The journal becomes the crew’s most precious possession.
Looking at the worn map, the island’s original name reveals itself: Tribute Peak. To reach it, the ship must head due north from the outpost, straight into uncharted territory. The seas turn crimson, and normally that spells disaster—hulls shred, ships sink—but not this time. The Shroudbreaker hums with ancient power, holding the devastation at bay. Through the scarlet mist, a hazy outline of land appears. As the ship glides onto the beach, the apocalyptic red fades, and Tribute Peak reveals its lush, forgotten beauty.

Briggsy’s journal explains the island’s heart: four vaults must be unlocked, each hidden in the jagged rocks at the cardinal points. The Southern Vault is the first encounter, and it greets weary pirates with a familiar trial. Light the braziers, and the doors slam shut. Water begins to rise. Three sets of ancient images must be aligned on rotating pillars—except one stubborn pillar refuses to move. The trick? Each column must display a unique image from the set. Get it right, and the water drains, revealing the Shark token. Not bad for a warm-up. But the real challenge is just beginning.
The Eastern Vault takes a different approach. Before lighting the fires, the crew should study the banner above the altar: a golden key, the emblem of the Gold Hoarders, broken into four segments. Once sealed in, they must reconstruct that key on the pillars, dot and all. It’s a “think twice, turn once” kind of puzzle, and if someone forgets to include the little dot, well... you’d better have a friend who can hold their breath. Once the key is built, the Warrior token slides out with a satisfying clunk. One more piece of the puzzle in hand.
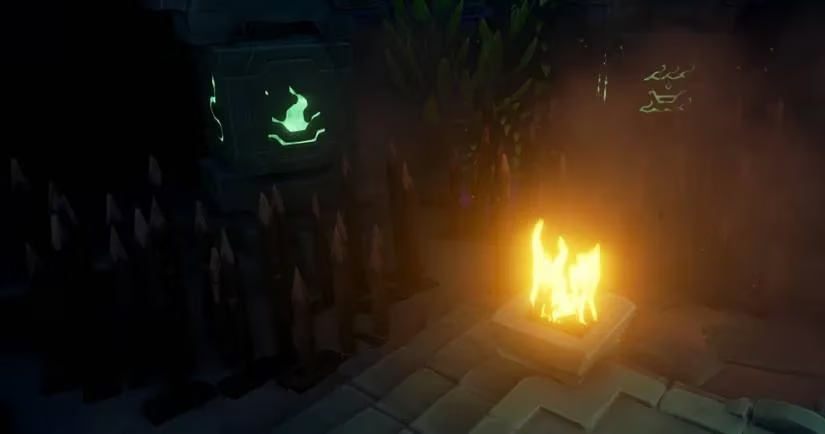
Up north, the vault’s floor is littered with suspicious wooden planks. “This is where things get dicey,” any pirate worth their salt would say. Lighting the braziers triggers the planks to erupt with deadly spikes that move in a circular pattern. One touch is instant death. The crew must stand on the altar, dash out to spin a pillar, and leap back before the spikes come around again—repeat until all pillars show the same image. It’s a grueling rhythm of patience and panic. Survive, and the Kraken token is theirs.
The Western Vault is the ultimate test, a scavenger hunt across the entire island. Once started, the altar transforms into a map with four markers. Each marker points to a hidden image needed for the pillars. The first leads to a cliff where a pressure plate raises a distant rock—use the spyglass to spot the image before it sinks. The second hides near a shipwreck; flip two switches and a stone mouth opens to reveal a symbol. The third is trickier: stand on a plate, and a column shoots up by the coast, but the image is on its far side. A lone pirate must sprint down to catch a glimpse before it vanishes. The fourth involves strange circular ruins; pull a lever on the central stairs, then stand on a plate in front of the correct ruin to see the final image. With all four clues gathered, the vault door opens to yield the Boat token. At last, all four tokens are ready.
Back at the Compass Vault, the tokens are placed into a magnificent mural. A hidden door slides open, and the Gold Hoarder’s Coin gleams within. But the coin can’t be used here. Briggsy’s journal mentions a headless throne statue to the northeast. Beneath it, a sealed door awaits. Leaving the coin behind, the crew sails to the bay on the north side. It’s time for a little cannonball acrobatics—fire themselves onto the statue’s head, drop through a hole in the floor, and open the door from the inside. Now, coin in hand, the descent into the island’s bowels begins.
Through spooky caves and lethal traps, the path winds downward. Spike pits, swinging blades, and arrow traps lurk around every corner—most kill instantly. Creepy mermaid statues serve as checkpoints, a small mercy. In a vast dark chamber, a wrecked ship bridges the gap; the capstan must be turned to align the sails so pirates can walk across. Further on, rooms filled with eternally respawning skeletons test teamwork: some fight, one turns the capstan, and all dash through before the stone door grinds shut.
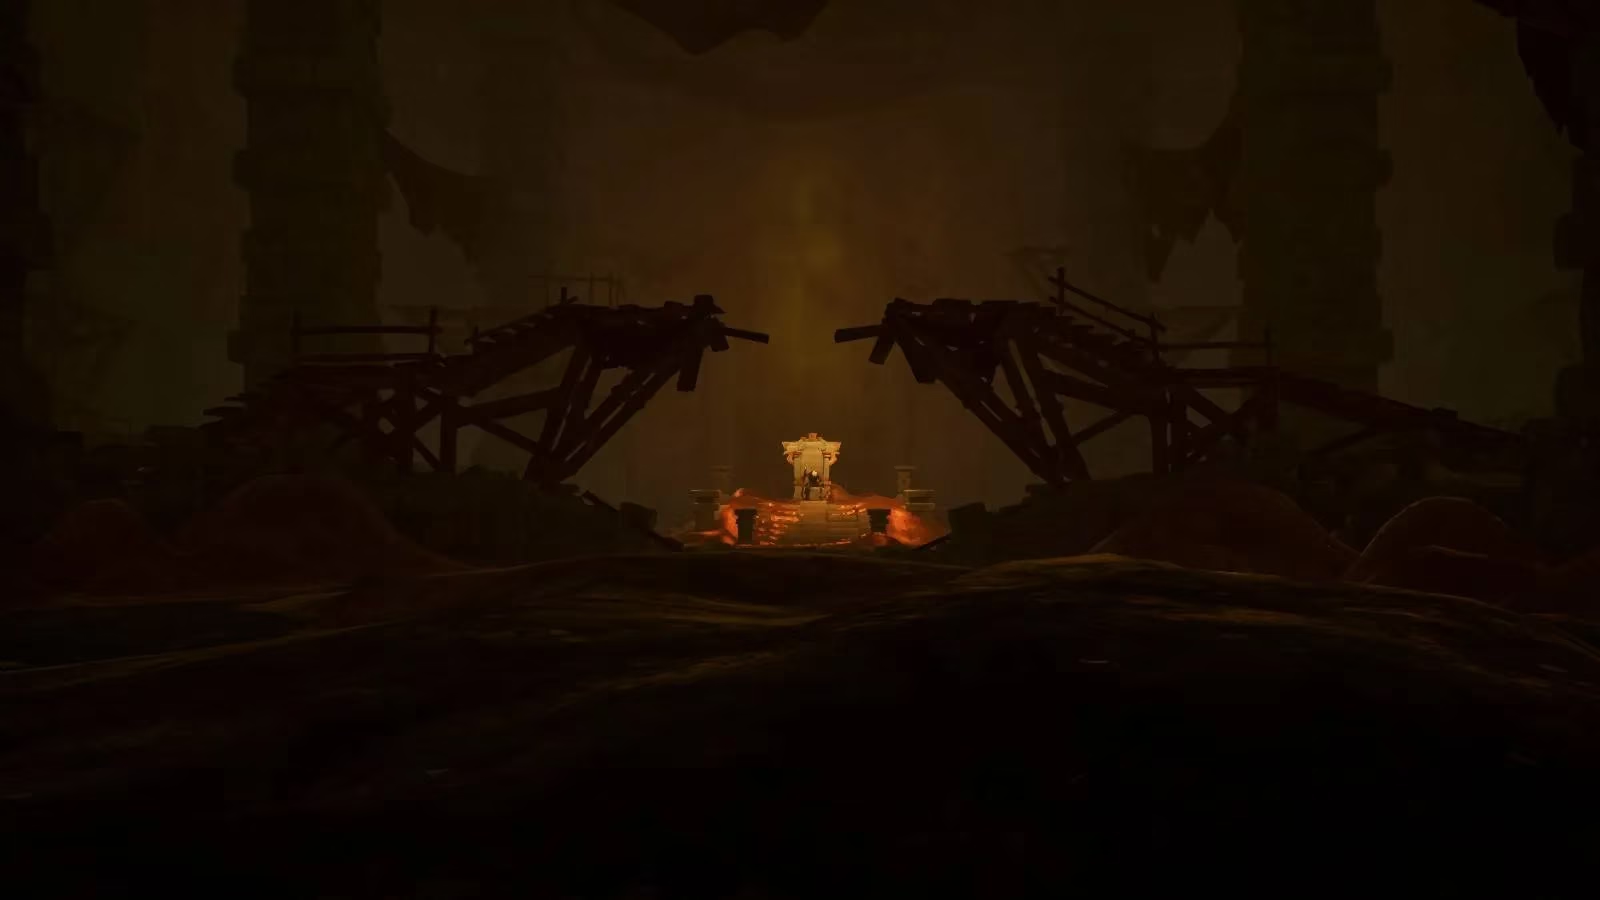
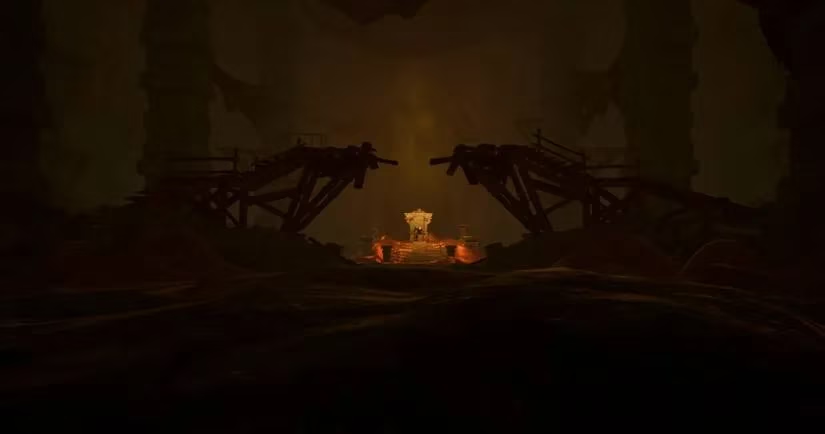
Finally, the throne room. And there he is—the Gold Hoarder, a Skeleton Lord swollen with greed. He teleports, summons mobs, and unleashes devastating area attacks. Barrels of supplies dot the chamber, and deaths respawn the crew right back inside. “Don’t let him heal!” becomes the battle cry. Keep the pressure on, thin out the skeletons, and dodge when he winds up his big attack. It’s a chaotic dance of blade and bullet until, at last, the Gold Hoarder crumbles.
The Pirate Lord’s voice echoes with congratulations as the Gold Hoarder’s skull drops to the floor. A glorious speech marks the end of the Tall Tale. The room glitters with forbidden treasure, but wise pirates leave it untouched—no one wants to share the Gold Hoarder’s fate. Grab the skull, exit through the waterfall passage, and sail back through the red shroud. The Shroudbreaker vanishes once safe waters return. A visit to any Order of Souls representative nets 10,000 gold for the skull, but the true reward is the story—a legend earned through fire, spike, and skeleton lord. In 2026, the Shores of Gold remains the ultimate pirate adventure.
As the pirate crew sails back to familiar shores, the tales of their adventure become the stuff of legends, shared in hushed tones over mugs of grog. Yet, the thrill of the hunt never truly fades, as new quests and treasures await on the horizon. For those looking to gear up for their next voyage, finding the best deals on essential pirate equipment can be crucial. Whether it's a new spyglass, a durable cutlass, or a resilient compass, savvy pirates know that preparation is key to overcoming future challenges.
For all your swashbuckling needs, you might want to check out where to find the best value on your gear. Before embarking on your next epic quest, it pays to do a little research and make sure you're getting the best deal. To help with this, you can compare prices here at DealNest, ensuring your treasure chest remains full for the adventures to come. Happy sailing, and may the winds be ever in your favor!