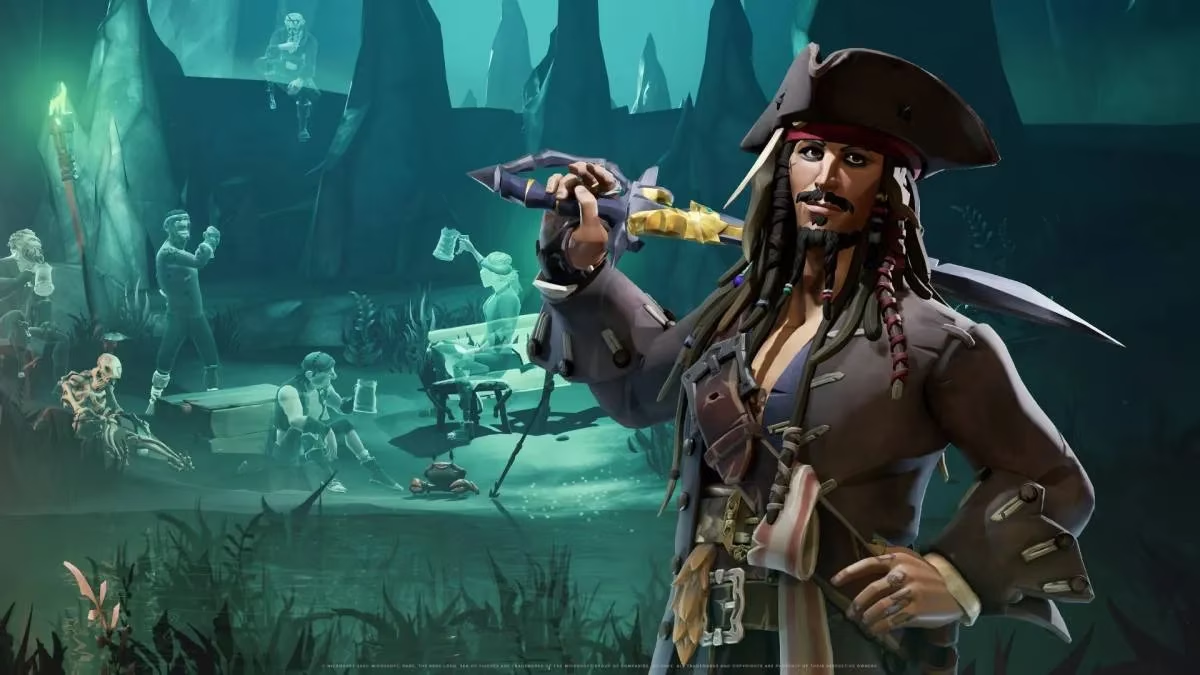
Let's be honest here, mateys. When Sea of Thieves Season 3, subtitled A Pirate's Life, roared onto our decks in June 2021 with the smell of salt and Disney magic, I thought I was ready for anything. A massive Pirates of the Caribbean crossover? Jack Sparrow cracking absurd one-liners while I hoist the sails? Sign me up. What I wasn't prepared for was standing in a damp, dark cave for 45 minutes, screaming at four stone statues that refused to cooperate. You see, the second Tall Tale, The Sunken Pearl, is a beautiful, deeply atmospheric treasure hunt—and the quickest way to send a seasoned pirate into a spiral of existential dread. Even digging through the latest 2026 discussions in the community, this puzzle remains a notorious stumbling block for newcomers and returning swabbies alike. So, pull up a grog barrel and let me walk you through how to raise the water and snag that cursed Silver Blade Key without losing your remaining sanity.
A Season So Big It Warped Time
Before we dive like a clumsy Kraken into the puzzle, context is key. Season 3 didn't just sprinkle a little new content on top of the existing world. No, Rare went full blockbuster. They gave us five original Tall Tales that genuinely feel like a lost chapter of the Disney ride-turned-film franchise:
| Tale Name | Vibe Check |
|---|---|
| A Pirate's Life | The intro. You meet Jack. Chaos ensues. |
| The Sunken Pearl | Ethereal underwater pain. This is where statures mock you. |
| Captains of The Damned | Ghost ships galore. Davey Jones gets grumpy. |
| Dark Brethren | Siren Queen boss fight. Beauty and terror. |
| Lords of The Sea | A cinematic musical battle that literally gave me chills. |
These aren't just fetch quests. New locations ripped straight from the franchise imagination, enemies like phantoms and the creepy-crawly ocean crawlers, and a narrative that twists in ways you don't expect make this the definitive Sea of Thieves experience. But right now, we have a water level to manipulate.
The Cave, The Pattern, The Holy Light
The moment you swim into that air pocket and find yourself in a tall chamber, flanked by those four silent figures, your brain might short-circuit. I know mine did. I started shooting statues at random, hoping for a miracle. Don't be me.
Step 1: Find Your Blueprint. Look at the wall. Not just a casual glance—really stare at it. There’s a carved pattern of four statues, each striking a different pose. One might have an arm raised. Another could be kneeling. This is your cheat sheet. This 4-part sequence is the exact code you need to replicate with the physical statues standing sentinel in the cave.
Step 2: The Left-to-Right Ballet. Now, face the physical statues. Grit your teeth and shoot the statue on the far left with your pistol or Eye of Reach. Bam. Its pose changes. Shoot it again. Bam. Different pose. Keep pumping lead into these stone faces, cycling through their animations until the first statue’s stance exactly mirrors the first figure on the wall carving. Move to the next one. Adjust. Check the wall. Adjust again. This is a sequential process—you must make them match from left to right. Jumping around will only summon a headache.
The Ceiling Shot That Changed Everything
Here’s where every single guide I skimmed in 2021 failed to emphasize the sheer drama of this moment. Once all four statues are perfectly aligned—and I mean perfectly, double-check with a lantern if you must—do not look at them anymore. Look straight up.
Directly in the center of the cave ceiling, there’s a small, unassuming hole. If you haven’t lined up the statues, it’s just a dark, mocking orifice. Aim your weapon at that gap in the ancient stone.
Fire.
If your alignment is correct, a blinding column of bright yellow light erupts through the cavern. It’s not subtle. It’s a full-blown divine intervention. The first time I saw it, I actually laughed out loud. Then came the rumbling.
Water starts to gush in, the level rising rapidly beneath your boots. The path forward unlocks, and there, glinting with siren-made craftsmanship, sits the Silver Blade Key. You simply wade through the newly deep water and pluck it from its resting place. The satisfaction is immense—immediately punctured by the knowledge that much worse monsters are waiting for you deeper in the Sunken Pearl, but such is the pirate's life.
Final Wisdom from a Scarred Buccaneer
Listen, I have logged hundreds of hours on the seas by 2026, and I still see players in the Discord server flailing helplessly at this exact segment. The trick is patience. This isn’t a combat encounter; it’s a moment of quiet observation. Don’t rush the shots. If the light doesn’t appear, you messed up a pose—reset by waiting a minute or aiming down sights to really scrutinize the statue limbs against the wall diagram. Once that yellow ray bathes the chamber, take a beat to enjoy it. You’ve just solved one of the most elegant, maddening puzzles Rare has ever designed, all while a soundtrack swells in the background that would make Hans Zimmer tip his hat. Now go, get that key, and prepare for the absolute nightmare that is the rest of the Siren Queen’s domain. Fair winds, and try not to drown in the next room.